Hanging succulent garden
Another thing I got up to during my week long Making Friday was to make a hanging succulent garden in my studio. It all started with the impulse buy of a magnificent Burro’s Tail from Aspen Flowers in Loop Street, and next thing I was googling macrame tutorials on the internet. Just look at how well it turned out!


There are more complex versions that are fun to learn, but a great place to start is this super-simple one, and made from black cotton rope, it’s actually quite elegant. Here’s my tutorial for making your own hanging garden.
HANGING GARDEN TUTORIAL

Step 1: Get a metal or wooden ring, scissors, and some cotton or nylon rope. I used a few different ropes in both cotton and polypropylene. The thinner cotton rope stretches quite a lot, but as I was planning to hang small, light pots, I wasn’t too concerned. Heavier pots would work better with polyprop rope.

Step 2: Cut four equal lengths of rope. I made these ones 2 metres long, but cut them longer if you’re planning a long drop.

Step 3: Thread the four pieces of rope through the ring and situate the ring in the centre. Now 8 pieces of rope are hanging down. Tie a simple knot with all 8 pieces just below the ring.

Step 4: At this point, it becomes easier to work if you hang the ring from something like a door handle so that you can see how gravity affects your actions. Measure down about 20cm and tie two adjacent pieces of rope together. Do this all around so you have four knots at the same level.

Step 5: Take the rope below two of the knots and tie one piece of one to a piece of another about 10cm down. Do the same with the rope below the next knotted section, until you have eight knots all at the same level.

Step 6: Gather all 8 pieces together about 7cm down and tie them all up in a big knot. Trim the rope ends with your scissors, and if you’re using polyprop rope, give each end a lick with a flame to seal it.

Step 7: Slip your pot into the holder, resting the base on the big knot at the bottom. Voila!
Variation 1: I tried a couple of variations, doing a repeat of step 5 to make a longer net for the pot, and also cutting very long pieces of rope so that I could make a double hanger too.
MACRAME UPDATE
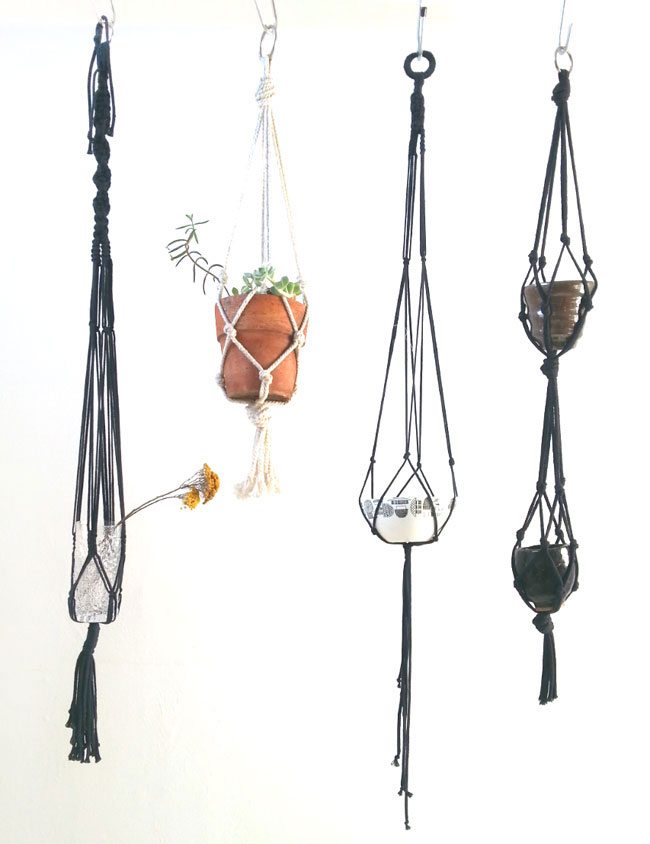
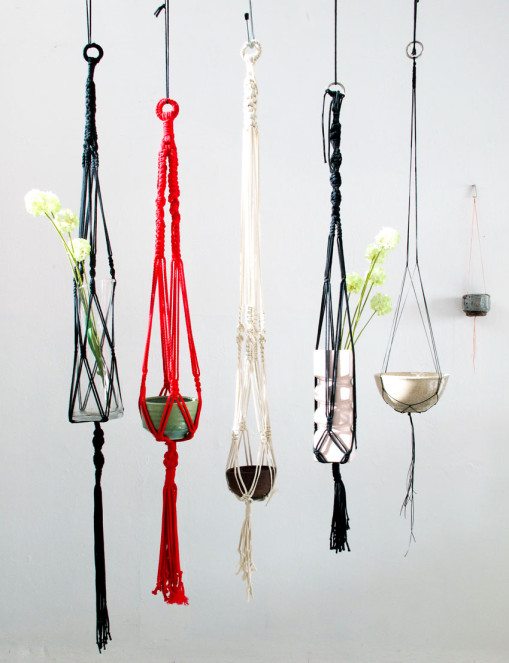
After having made this tutorial, I got into learning proper macrame knots, and ended up making quite a few versions, in different colour rope, which have been really useful in a number of shoots, and in the Skinny laMinx shop too.
This classic version in white worked beautifully in the product shot for the Skinny laMinx Fronds fabric design.
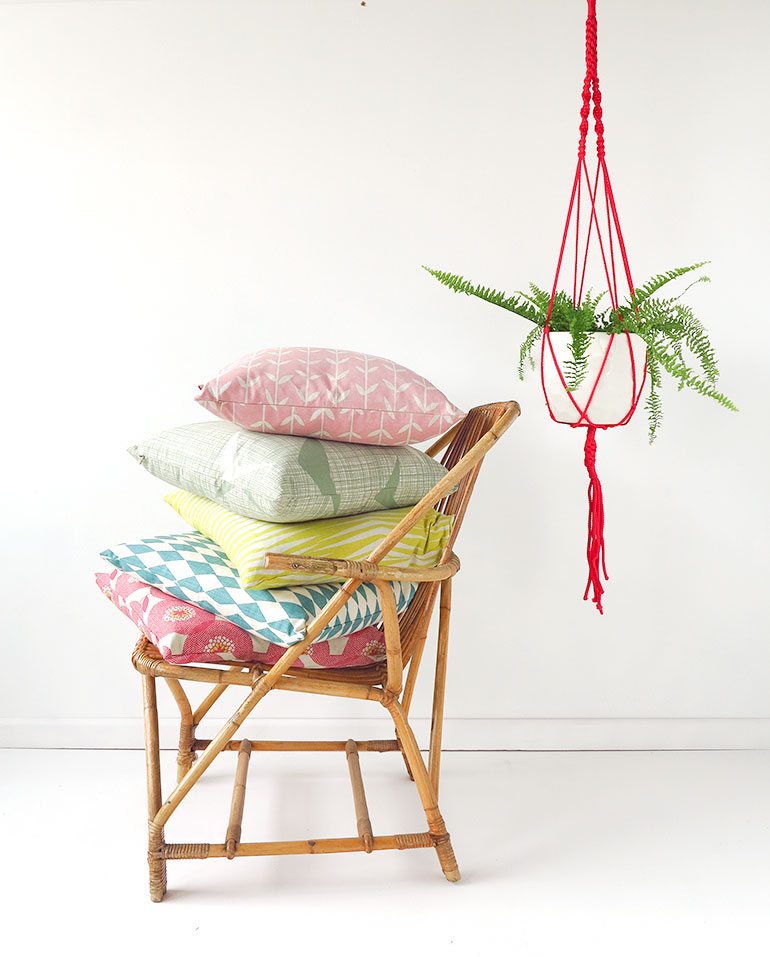
I love the way this red one pops against this pile of pastel Skinny laMinx cushions.
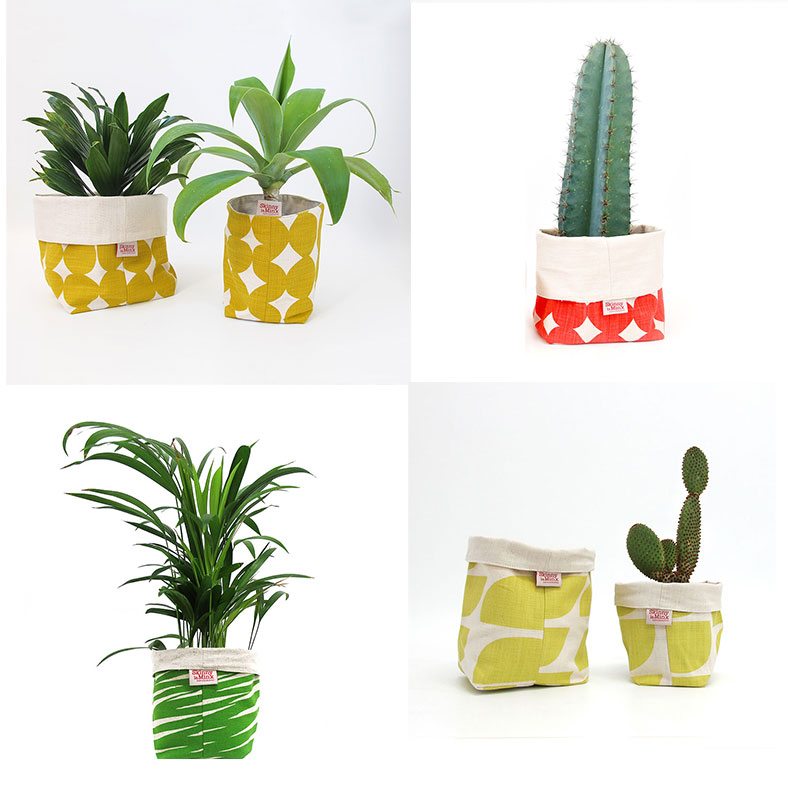
Next project: making a macrame hanger for our Soft Buckets!
If you enjoyed this post, try these too:
Best Things: Plant filled homes
If you’re interested in learning more knots, I’ve run workshops in the past, and would be happy to do it again. Drop me a line at hello@skinnylaminx.com if you’d like to join a workshop, or sign up for my newsletter to find out about other workshops happening.
kbd
looks lovely! Plants make any place more homey 🙂
motherAWESOME
You crafty little thing, you. They turned out lovely!
emily b
I love this idea! I’ve been meaning to bring more succulents into our home, and you’ve totally inspired me to go the hanging route!
Nadia - Cupcake Couture
Nothing like a bit of greenery to keep you company when working hard.
Nice!
x
Melissa de la Fuente
Gah! How incredible…your talent really knows no bounds, does it? 🙂 Love it so..
xo
Melissa
A Merry Mishap
Thank you so much for this! I will definitely be trying this in the Spring.
Divya@soundhornplease
This looks absolutely stunning! Definitely going to try it out 🙂
Gloria
Eu adoro macrame!!! Good idea! Thanks
IsaBeauPeep
So rad:)! thanks for sharing, I love these hanging lovelies so much:)
L-zanne
so awesome 🙂
Eva / Sycamore Street Press
I’ve got to do this! I was just thinking yesterday that I wanted some of these 70’s style hanging plant holders, but had no idea where to get them. Now I can make them. Thanks!
skinnylaminx
Hooray! Hope your hanging garden turns out well. Xx
xeriscape landscape design
I’ve got to do this! I was just thinking yesterday that I wanted some of these 70′s style hanging plant holders, but had no idea where to get them. Now I can make them. Thanks!
michael macfarlane
finally found a simple yet elegant way to hang some of my pots, have spent the most of half a day searching for instructions like this. never realised it was so simple to do, thanks a mil for the free post.
skinnylaminx
Fab! Have fun with this, and I hope it turns out well.
xx
Tash
Amazing! Your tutorial inspired me to make my own hanging garden. Only have 2 so far, but can’t wait to make more. They really bring the room alive.
I had real trouble finding cotton rope, and ended up using cotton piping cord which was hideously expensive, any tips on where to find your lovely black rope? (ie, does it go by any other names else like the piping cord?)
Thanks so much!
skinnylaminx
Hi Tash
So pleased you’re enjoying making your own hanging garden. You know, I don’t think it really matters what kind of cord you use. I used a lovely soft cotton rope that was a bit pricey then also nylon (or polypropelyne) cord and black cotton cord too. I’m lucky enough to have a rope shop around the corner from my studio here in Cape Town, so am spoiled for choice. Would suggest you try a hardware store or packaging store rather than a haberdashery, as you might find more selection;
Good luck! xx
Shanan
This is so awesome, and I am definitely doing this in my dorm room next year! But…I was wondering how you water them when there’s nothing on the bottom of the pot t catch the water. Thanks for the cute idea!
skinnylaminx
Glad you enjoy this project. To prevent water coming through the bottom of the pots I suggest you place the pots inside containers that don’t have holes on the bottom.
Good luck! xx
prat
great and thanks a nice way to make your weekend productive
Shannon
These are great! Just wondering how watering the plants works? Do you have pots inside of pots to keep water from dripping everywhere? thanks!
skinnylaminx
Glad you like this! Part of the reason I chose succulents for this project is that they need not too much watering, so that sorts it out to a certain extent. But otherwise, yes, you’re right: I have pots inside pots.
x Heather
Nicholas Keyes
i just had to try this out, i have more scraps than most junk yards and just happen to have some neon green 550 cord (paracord) laying around. even though i’m only hanging a 4 inch pot, the 550 cord is strong enough to hold my 20 inch terracotta pot with my mini palm in it.