Tutorial: cut vinyl illustration
When I get my knife out, it’s usually to make paper cutouts, but also like to cut adhesive vinyl, as it has a couple of advantages over paper, namely: the finished cutout gets stuck to another surface, so you don’t have to be pernickity about designing something that will hold together, as you do with paper.
While cutting my most recent horoscope illustration for Fair Lady magazine, I happened to have my camera on hand, so I took some photos as I went, recording my process. This is the way I like to cut adhesive vinyl, and maybe it will help you too.
Step 1: Draw an image onto thin paper.

I looked at a 2008 Orla Kiely catalogue to get my starting point of a fashion conscious summertime gal. Note that I didn’t copy the image, as it’s not really kosher in terms of copyright to copy a photo that you didn’t take yourself. So I just used the model in the catalogue to give me a couple of ideas for this pose.
Step 2: Tape the paper onto the front side of adhesive vinyl.

I use black vinyl when I’m planning to scan the image after cutting it.The vinyl is pretty standard-issue, and not specialist at all. It’s the kind of stuff used to make signage in shops, and I buy mine from a local signage supplies store. Some of the places that do computer vinyl cutting will hand out their offcuts if you smile sweetly.
Step 3: Cut the image.

I use very steeply pointed blades in my NT cutter, which is a japanese brand of knife into which you insert individual blades. I make sure that I’ve cut all the way through by removing the white paper as I go. Still, I do find I have often not made completely released cuts and have to go back and fix these during the next step.
Step 4: Remove unnecessary vinyl

Low-tack paper is exceptionally useful when you need to remove the unwanted bits of cut vinyl. Once I’ve finished cutting, I remove the white paper, and smooth a piece of low-tack paper to the front side of the vinyl. Then I turn it over and remove all the unnecessary bits of vinyl, leaving only the parts that I need. As I do this, I generally keep finding the need to make release cuts. It’s important to not be impatient, as it’s so easy to rip the vinyl.
Step 5: Stick it down.

I remove the waxy backing from the vinyl, and press the sticky side to a piece of paper, then remove the low tack paper from the front.I stuck my illustration down in bits as I was anticipating scanning it and finishing it up in Photoshop. It’s not necessary to do it this way, and usually I don’t bother. This was a bit of an experiment for me.
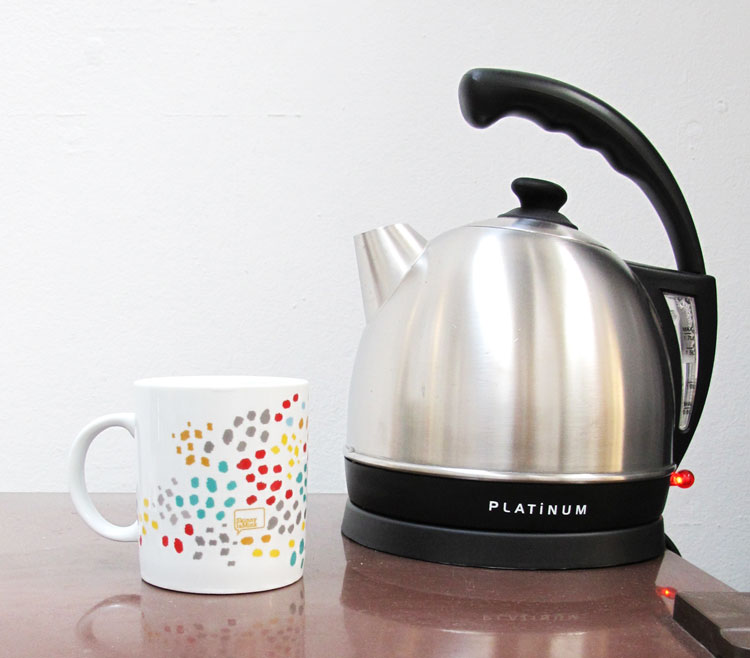
Step 6: Tea (repeat, if necessary)

I find it essential to have a few cups of this magical brew whilst scanning and Photoshopping.
Step 7: Voila!
 A big dose of decision-making teamed with magic wand and colour fills, and voila! One completed illustration, ready for delivery and printing.
See more of my horoscope illustrations right here.

Jesse
Nice tut, and beautiful illustration! Low-tack paper looks very useful; what is it, and where do you get it? Art shops?
skinnylaminx
Thanks, Jesse! I got my low tack paper in a huge (expensive) roll at the place I bought the vinyl a few years back. I’m not sure if it’s available at craft/art shops, but it really is useful stuff to have around. xx
Michelle | Cicada Studio
Thanks for this! Some of the magic in now gone, but I feel empowered by the knowledge. One thing for sure, I will always be impressed.
skinnylaminx
Didn’t I mention that actually elves do everything for me? 🙂 xx
LuluHibou
oh thanks for this! I still don’t think I understand… is the vinyl sticky on one side or not? Either way, so cool… I’m keen to try it myself now! Must get my craftknife out!
skinnylaminx
Glad you enjoyed it. The vinyl is sticky on one side, but that side is covered with waxy paper. It’s just like any old sticker or decal, really. Happy cutting! xx
helen:)
I really want to try it now:) Got to see if I can locate that vinyl paper. Love the tutorial.
skinnylaminx
I’d LOVE to see what you come up with armed with a knife. It’d be good, I know it. xx
Erin @ Slipcover Your Life
I absolutely love the walkthrough but there is no way in hell I can DIY. All that intricate cutting? Don’t think the magical brew would even help!
skinnylaminx
Of course you can! Just go sloooowly. xx
helene magnusson
I think I like step 5 more than the final image, oups!
skinnylaminx
Oops indeed! Nice to hear from you, Helene. xx
Kristen
Thanks for this tut! -Love the addition of the kettle – a tea/coffee fix is vital when the creative juices are flowing!
Catherine
Very clever.
joyce
Wowsers..awesome heather…I will try this weekend