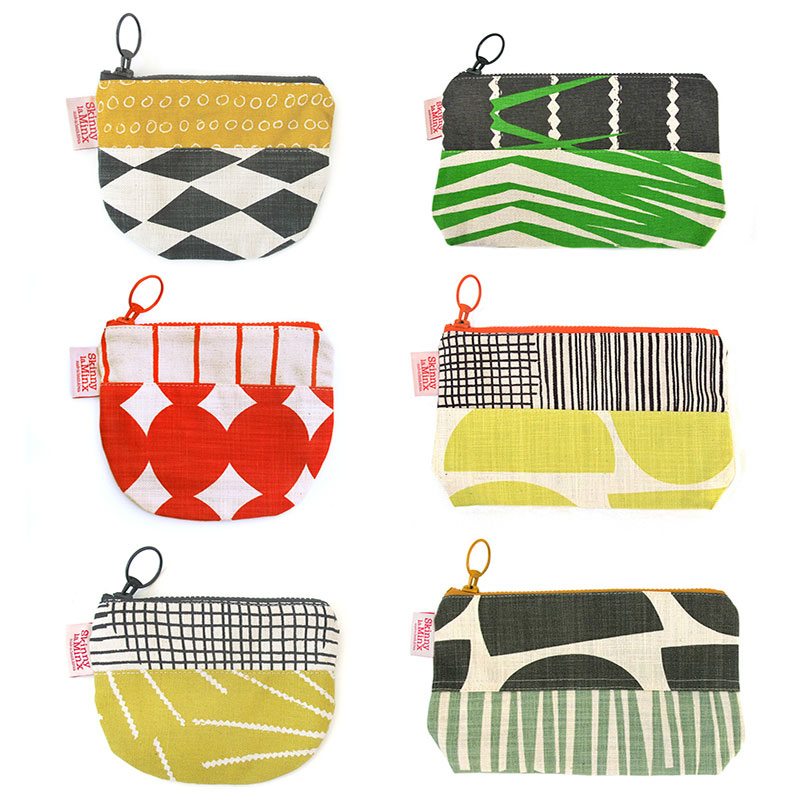
How To: Make a half-and-half Purse
Did you spot our super-cute Half&Half purses for sale in the new Making Friday section of the shop?
They’re almost all gone, but don’t be sad, because you can make your own, and you won’t even have to figure it out for yourself, as we’ve made this nifty tutorial, especially for you!
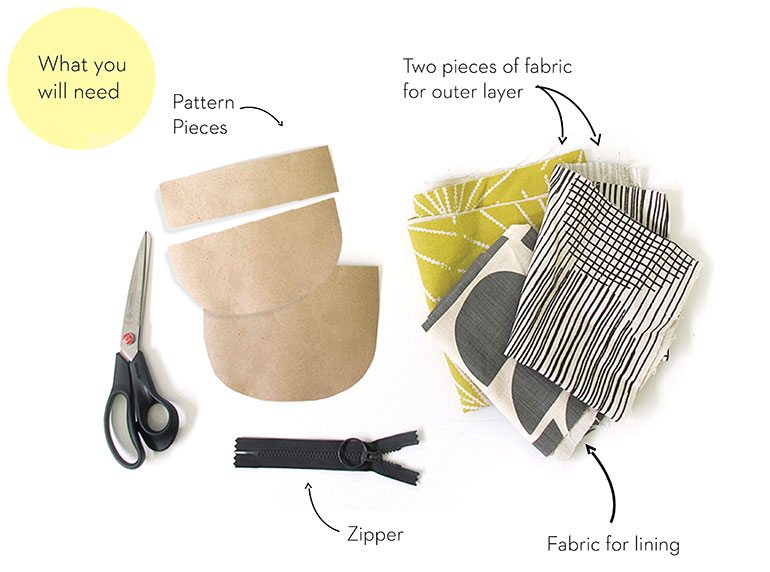
You’ll need two contrasting prints for your outside pieces, and a lining fabric for inside.
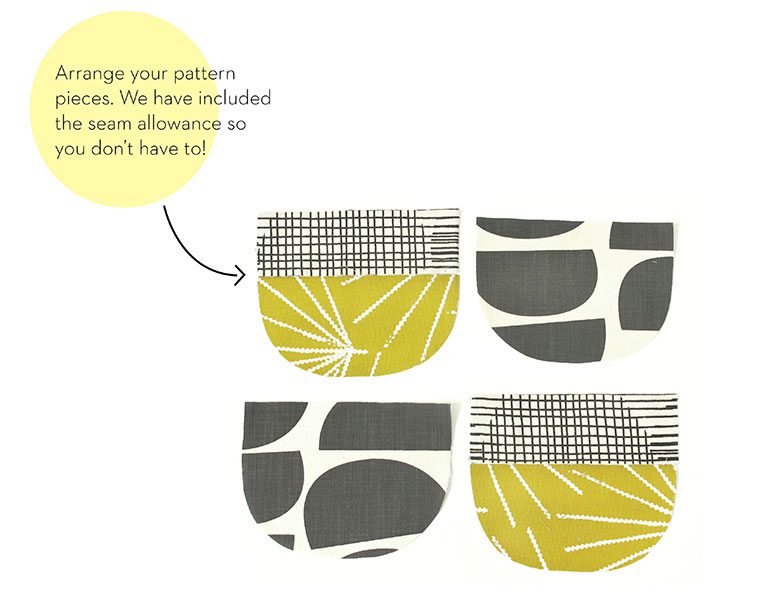
Download the pattern PDF here, and print out on an A4 sheet, then mark and cut out the pattern pieces on your fabric.
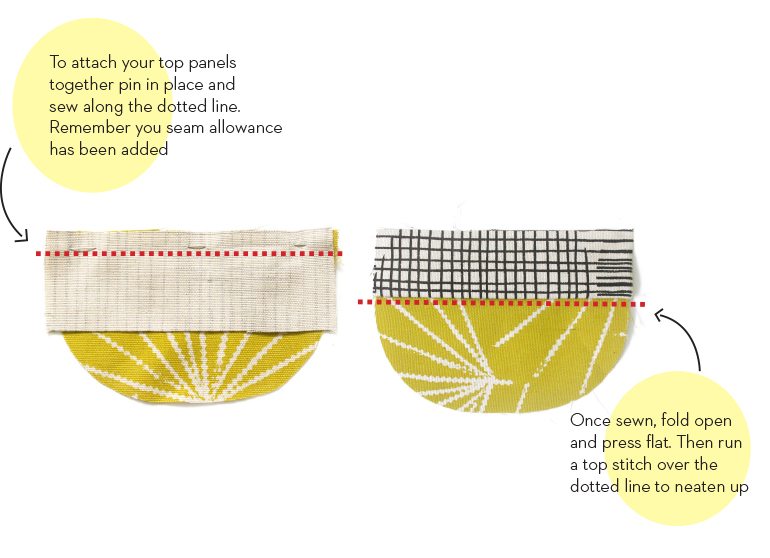
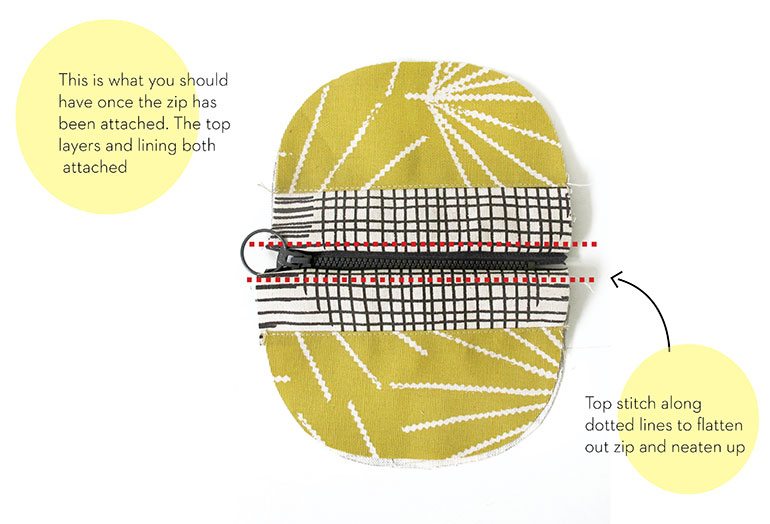
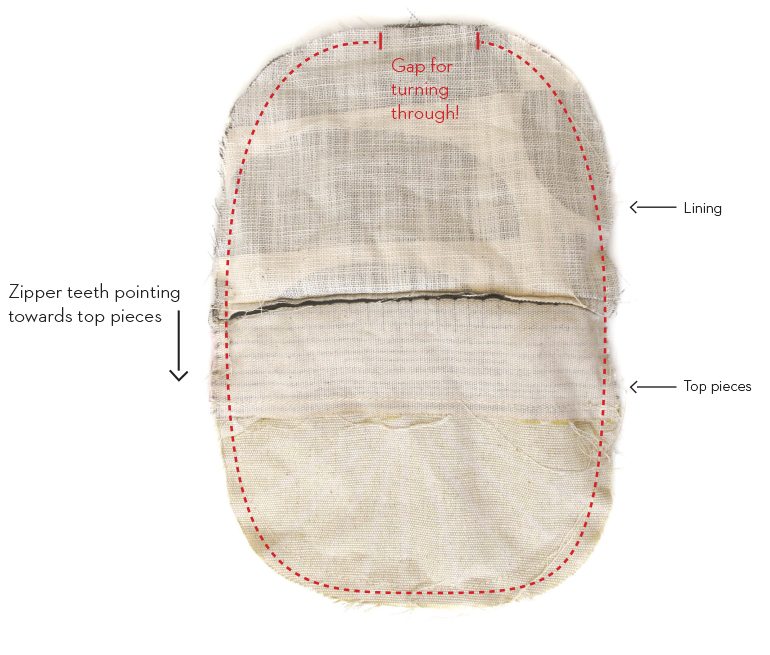
Open your zip 3/4 of the way and make sure the teeth are facing towards the top pieces of fabric. Stitch the purse together along along the dotted line marked above, remembering to leave a gap in your lining for turning the purse right side out again. I’d suggest you backstitch a little at each side to strengthen it up a little for turning through.
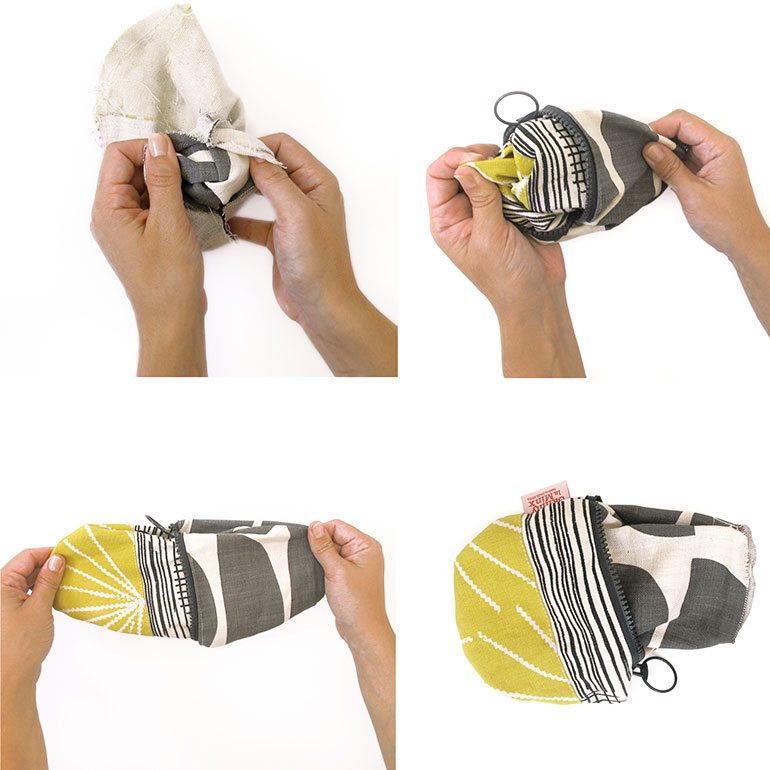
Now carefully start to turn out your purse through the hole you left in the lining. Once you have the lining sticking out at one side, fold in the rough edges and either machine or blind stitch the rest to close up the change purse.
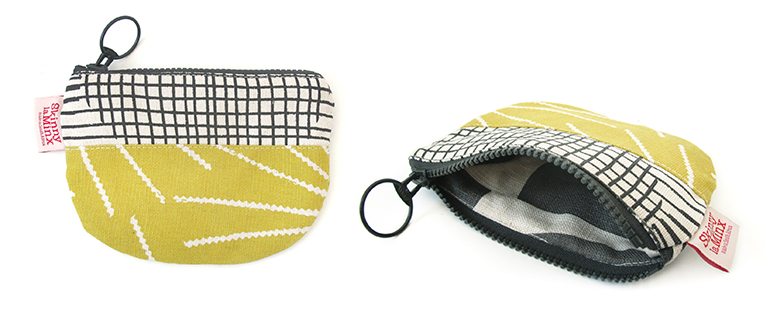
Finally, push the lining back through, making sure it’s flat and in line with the outer fabric, then press with an iron, and your half-and-half purse is all done!
alison
Thanx so much for the tutorial – will have to wait till the weekend to get my sewing machine out.
paradise valley durban
excellent tutorial, i tried it out, didnt come out as good as the tutorial thou atleast i tried.
skinnylaminx
So glad you enjoyed it! Practice makes perfect 🙂